Make a Favicon with GIMP
08 Sep 2015In this post we’ll be working with GIMP, the GNU Image Manipulation Program. A basic understanding of graphic software will be helpful, although not necessary.
Tutorial Requirements:
Step 1. Make your Brand
The favicon made can be simply letter typography or an outlined image that bests repersents the style and branding of the site.
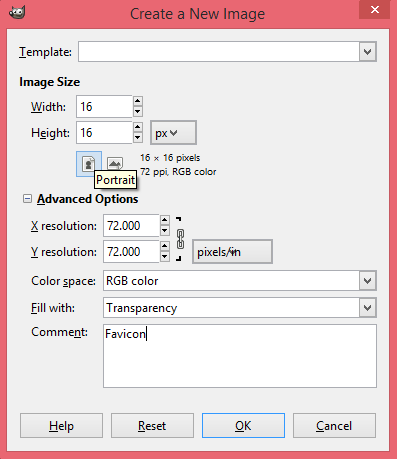
Step 2. Make a Favicon
Start up GIMP and navigate to File > New to create a new image. Adjust the new image size to 16 x 16 pixels. Below, select portrait for page orientation. I am going to make my favicon transparent by selecting the Advanced Options tab and set Fill with to Transparency. Pressing ok will load an artboard to draw the new favicon on.
Step 3. Save your Favicon
Export the favicon with the .ico or icon file extension.